
Guides
How to run your practice here
Every guide below was walked in the real product, screen by screen — the screenshots are the same run that checked the words. Start with the first hour, or search for exactly what you are trying to do.
Getting started
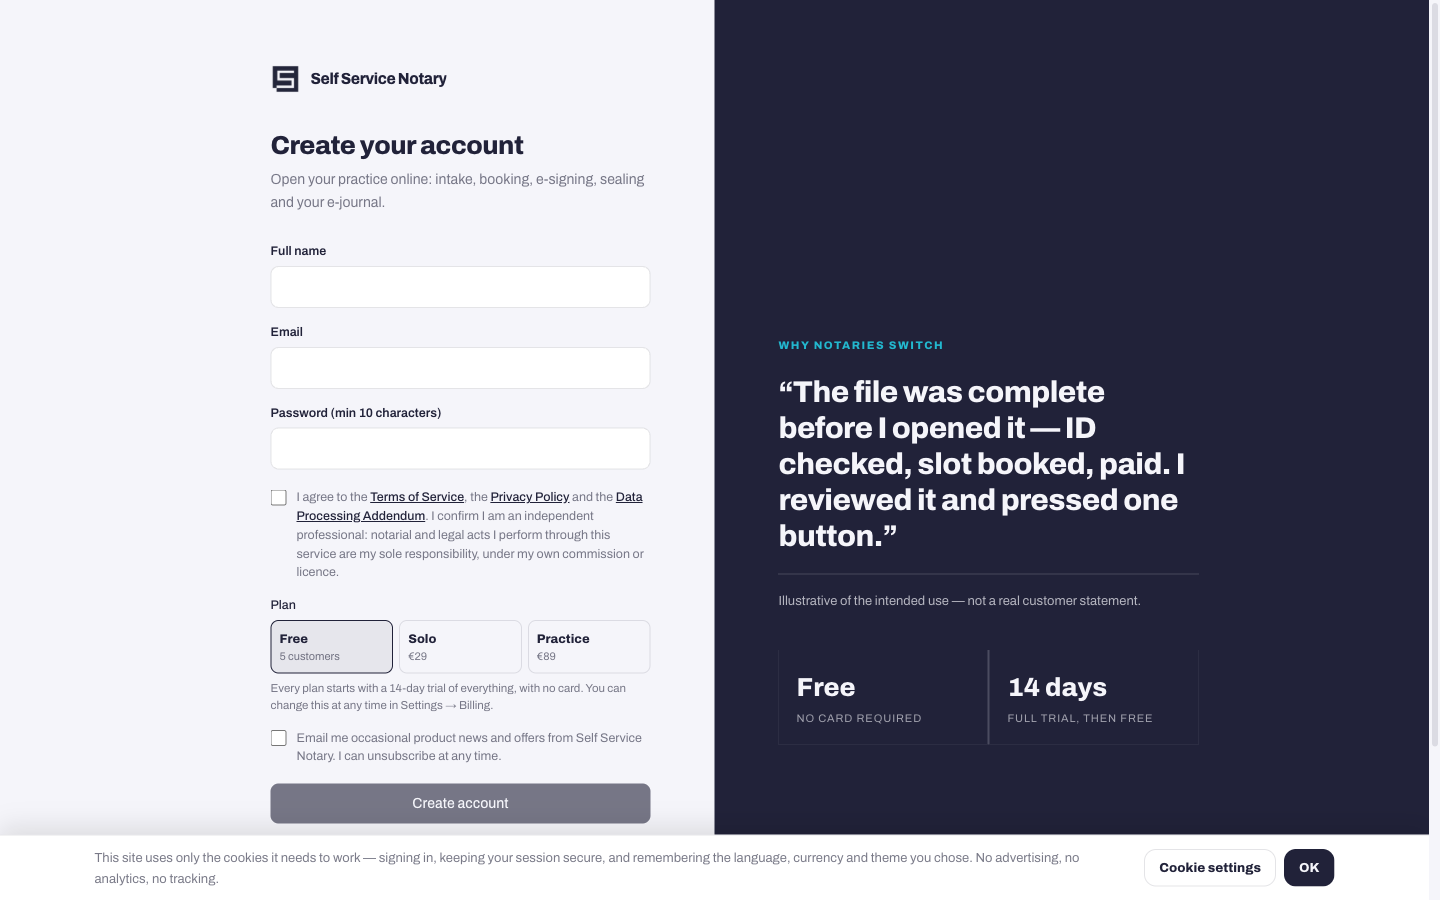
Start here: from sign-up to your dashboard
5 minCreate your account, turn on two-factor, answer the five practice questions, and find your way around the dashboard.
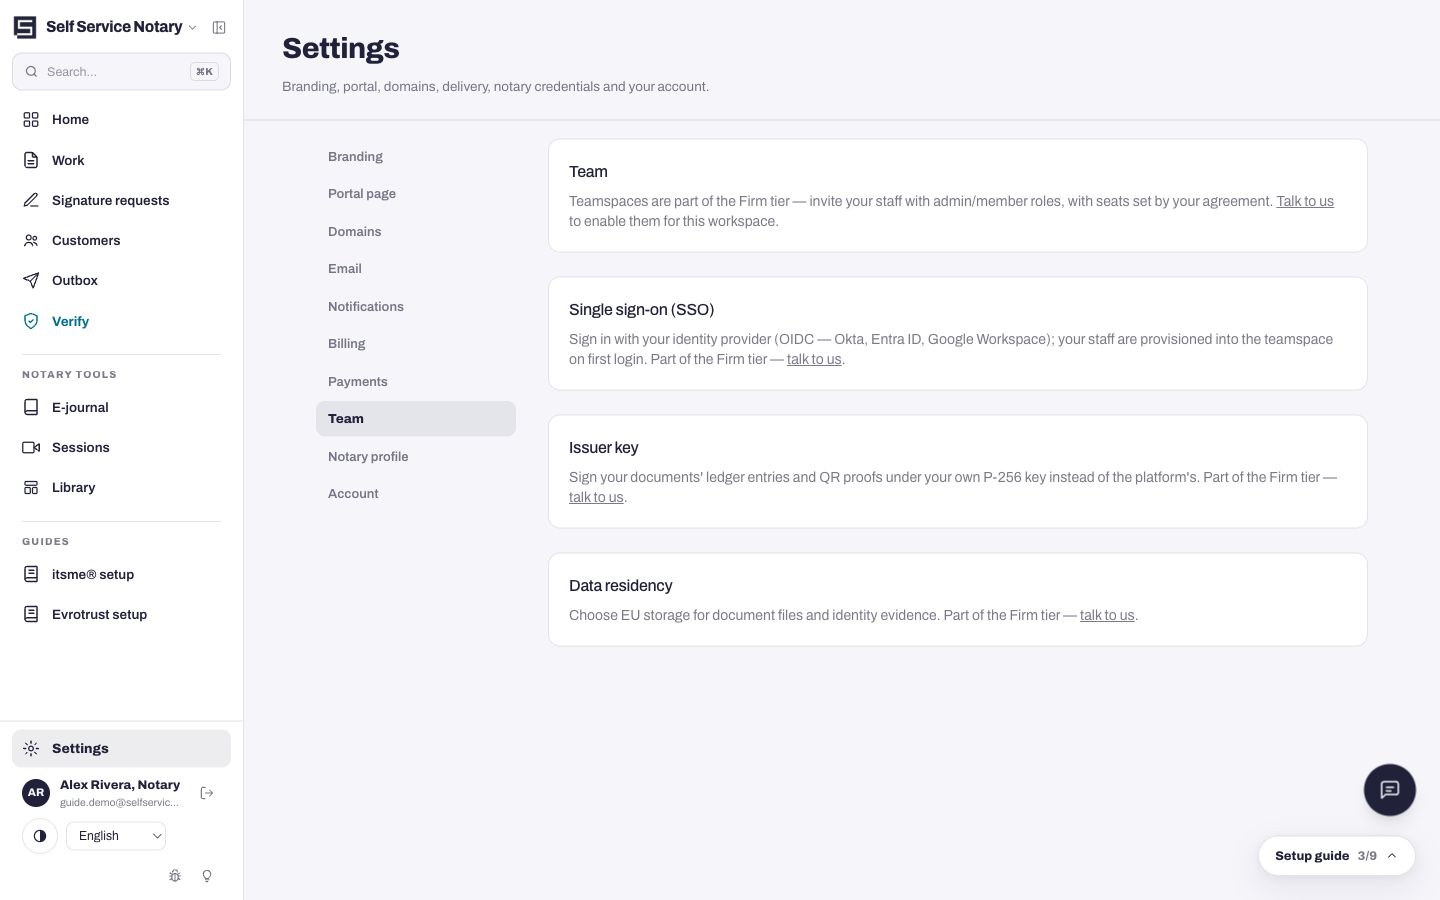
Your team, roles, and settings
4 minInvite the people you work with, understand what each role can do — including the signing-notary seat that only signs — and where everything is configured.
Everyday work
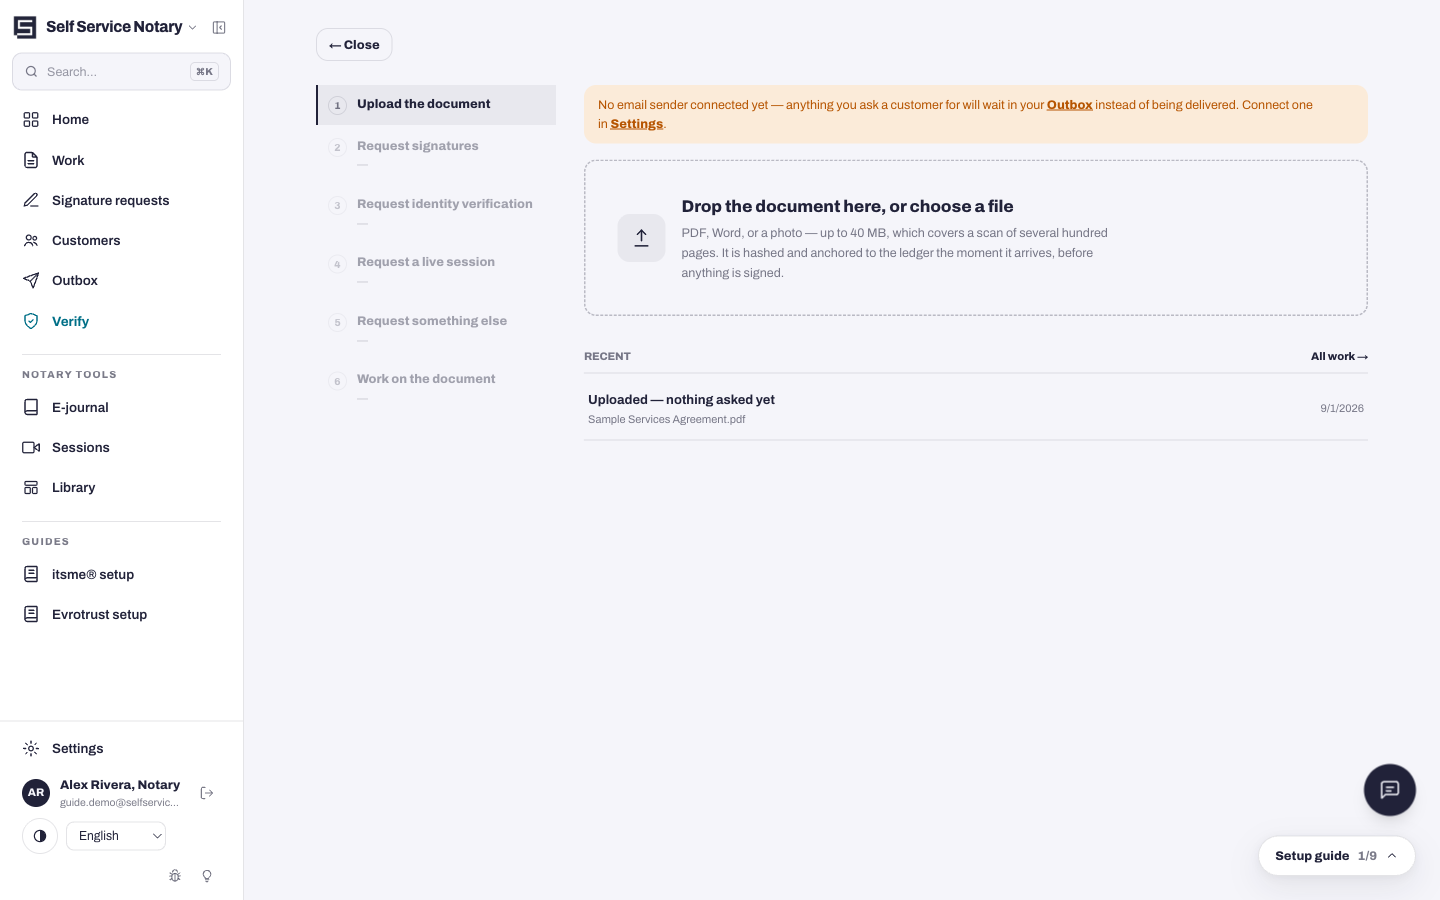
Notarize a document, from upload to seal
8 minThe whole job: upload, optional signature and identity requests, the seal editor, and the permanent seal that finishes the act.
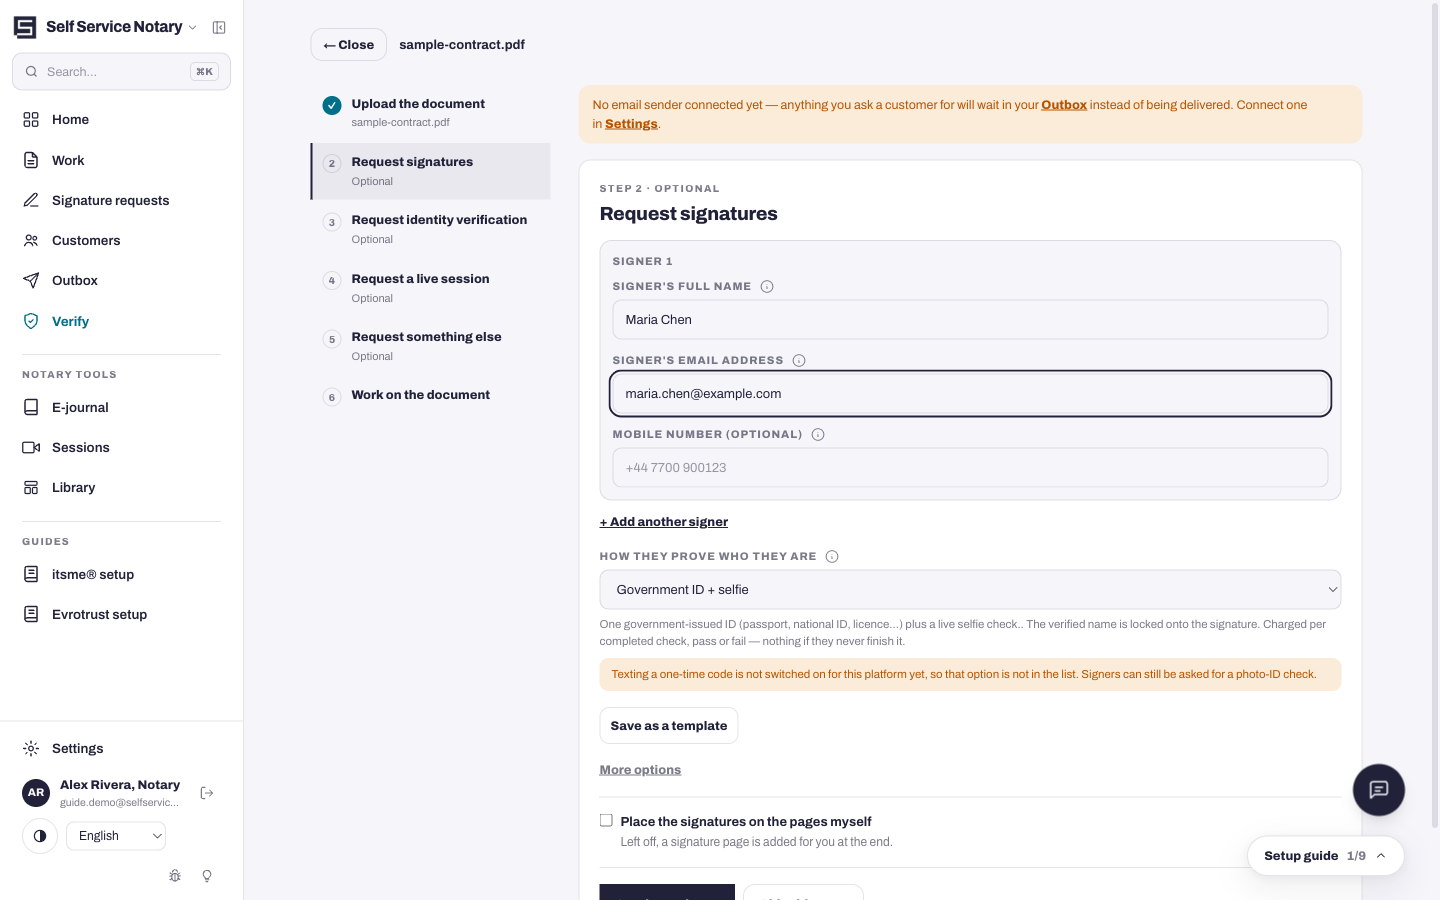
Collect signatures and verify identity
5 minSend a document for signature, watch each signer's progress, and understand the identity check that locks onto their signature.
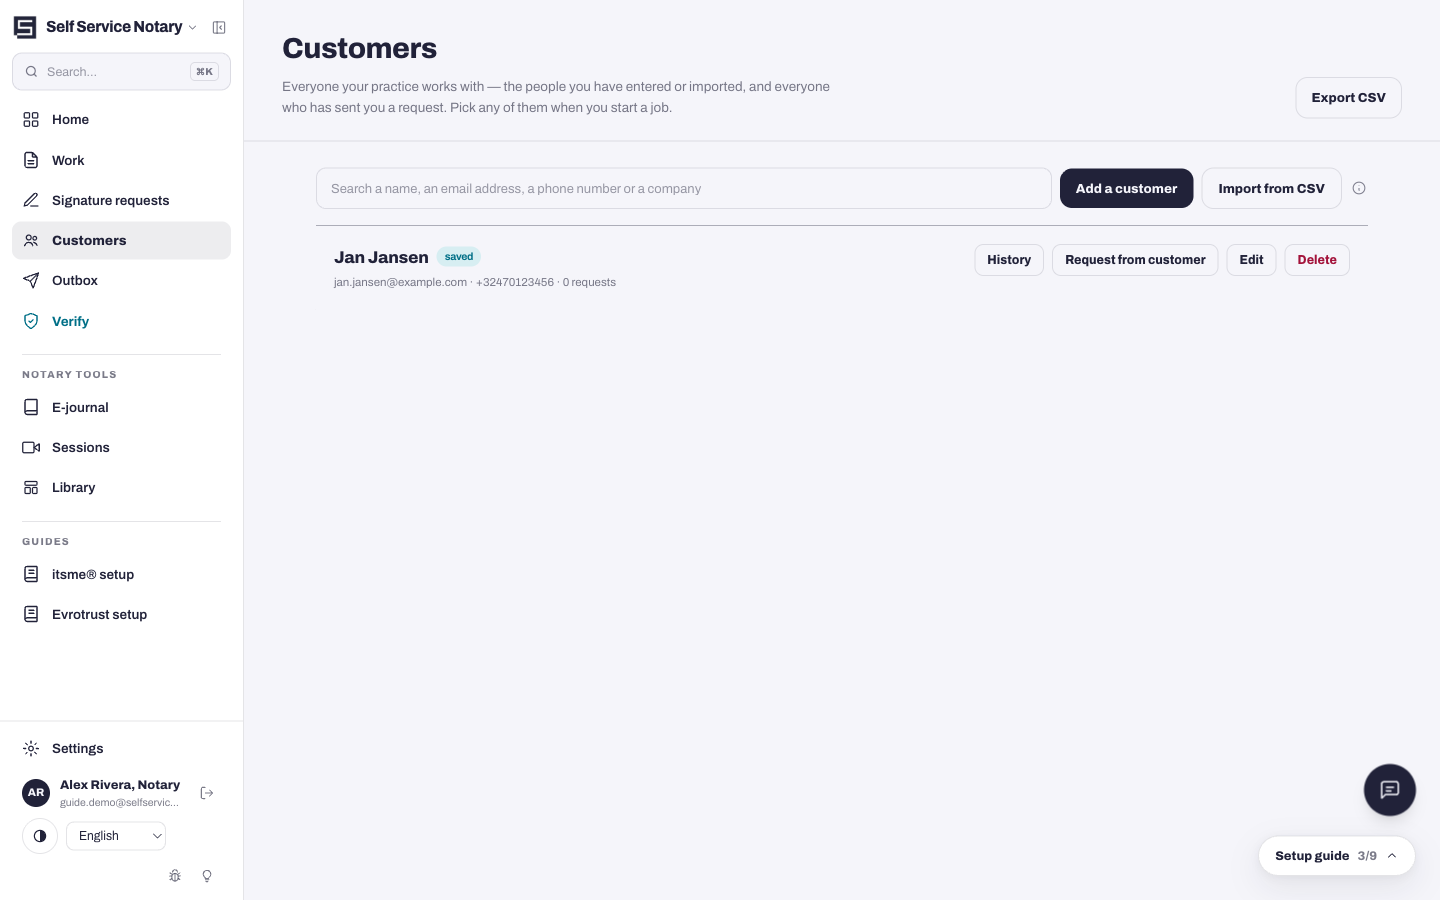
Clients and your book
3 minAdd customers by hand, import a list from CSV, or let them arrive through your portal link — and attach the right customer to each job.
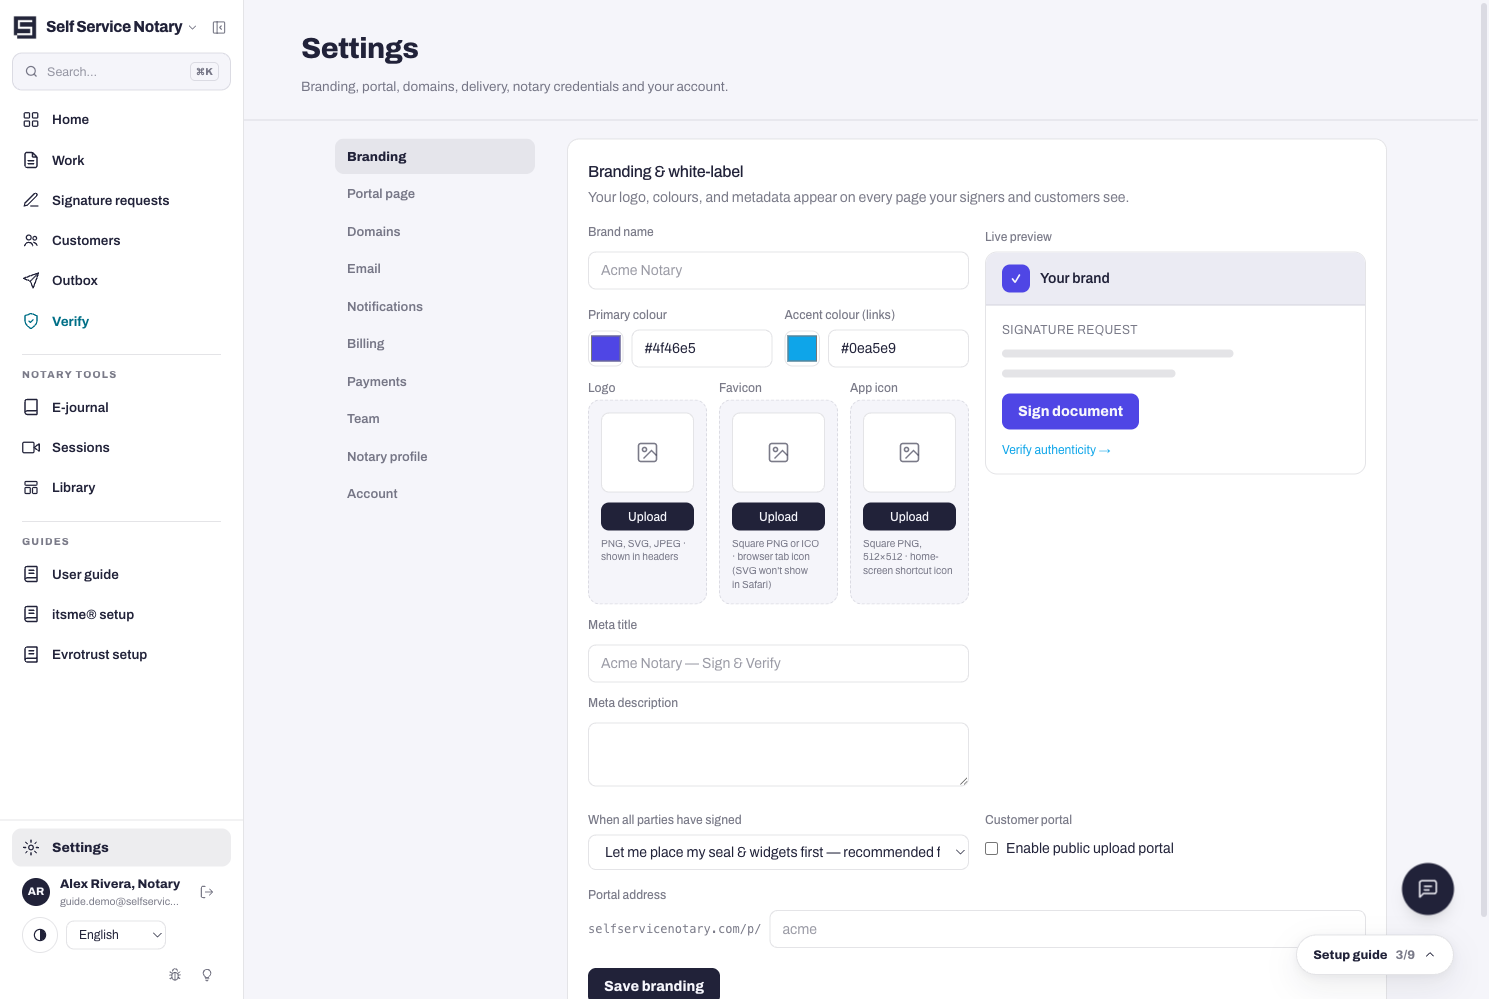
Make it look like yours: branding and the portal
4 minYour name, colour and logo on everything customers see — and the switch that turns your public portal page on.
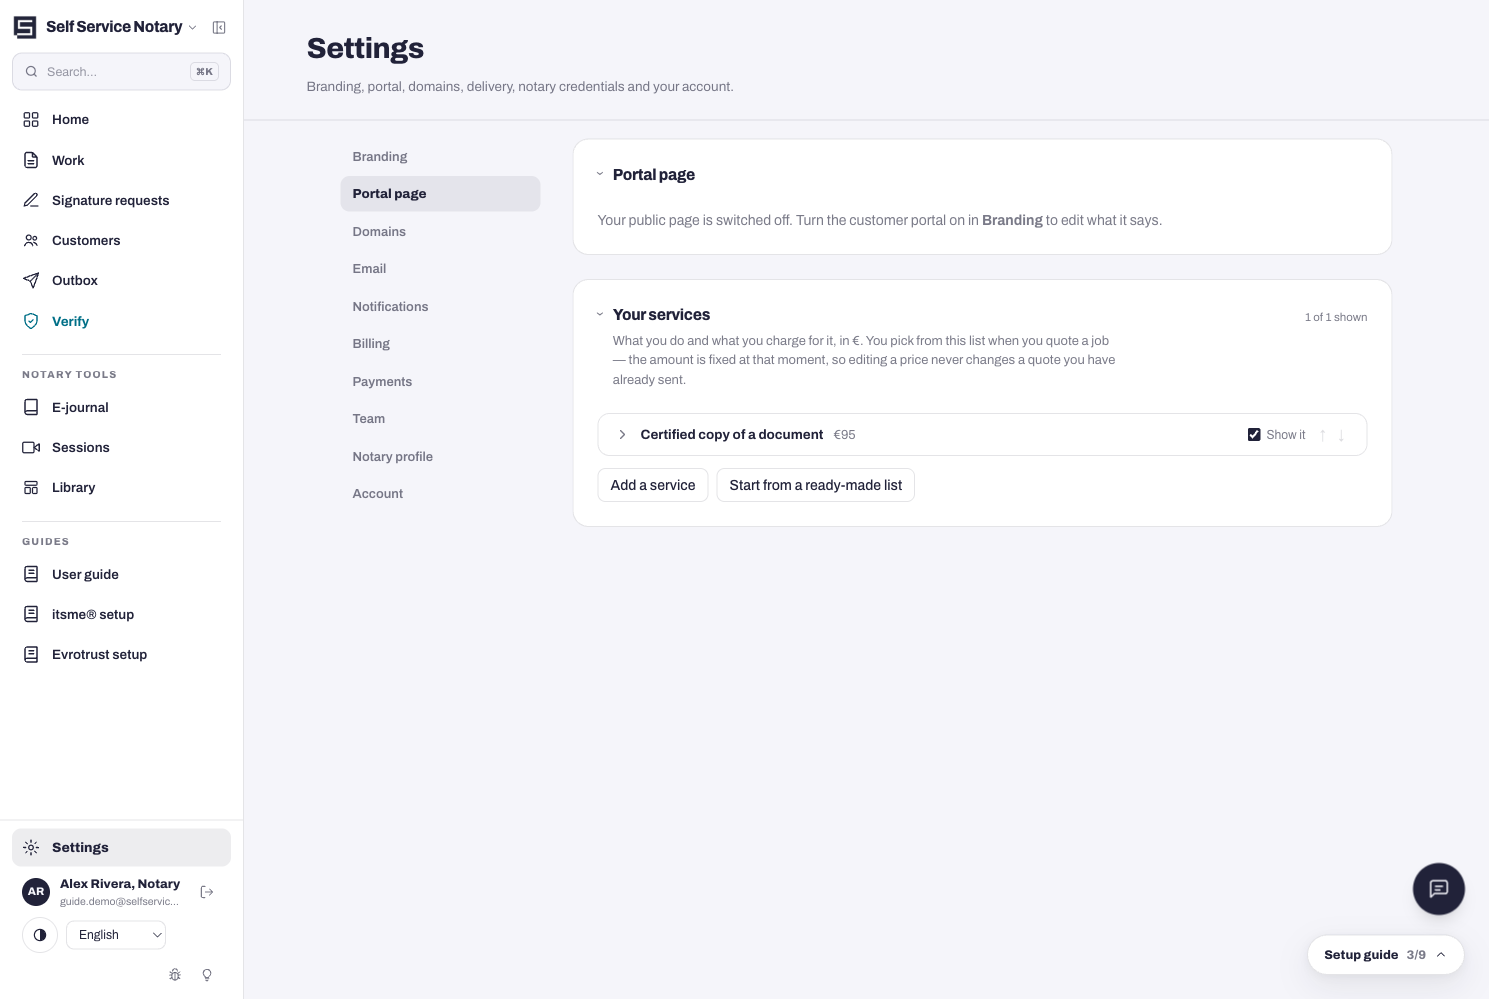
List your services and prices
4 minBuild the catalogue you quote from: names customers recognise, what the work is, and what it costs per document or page.
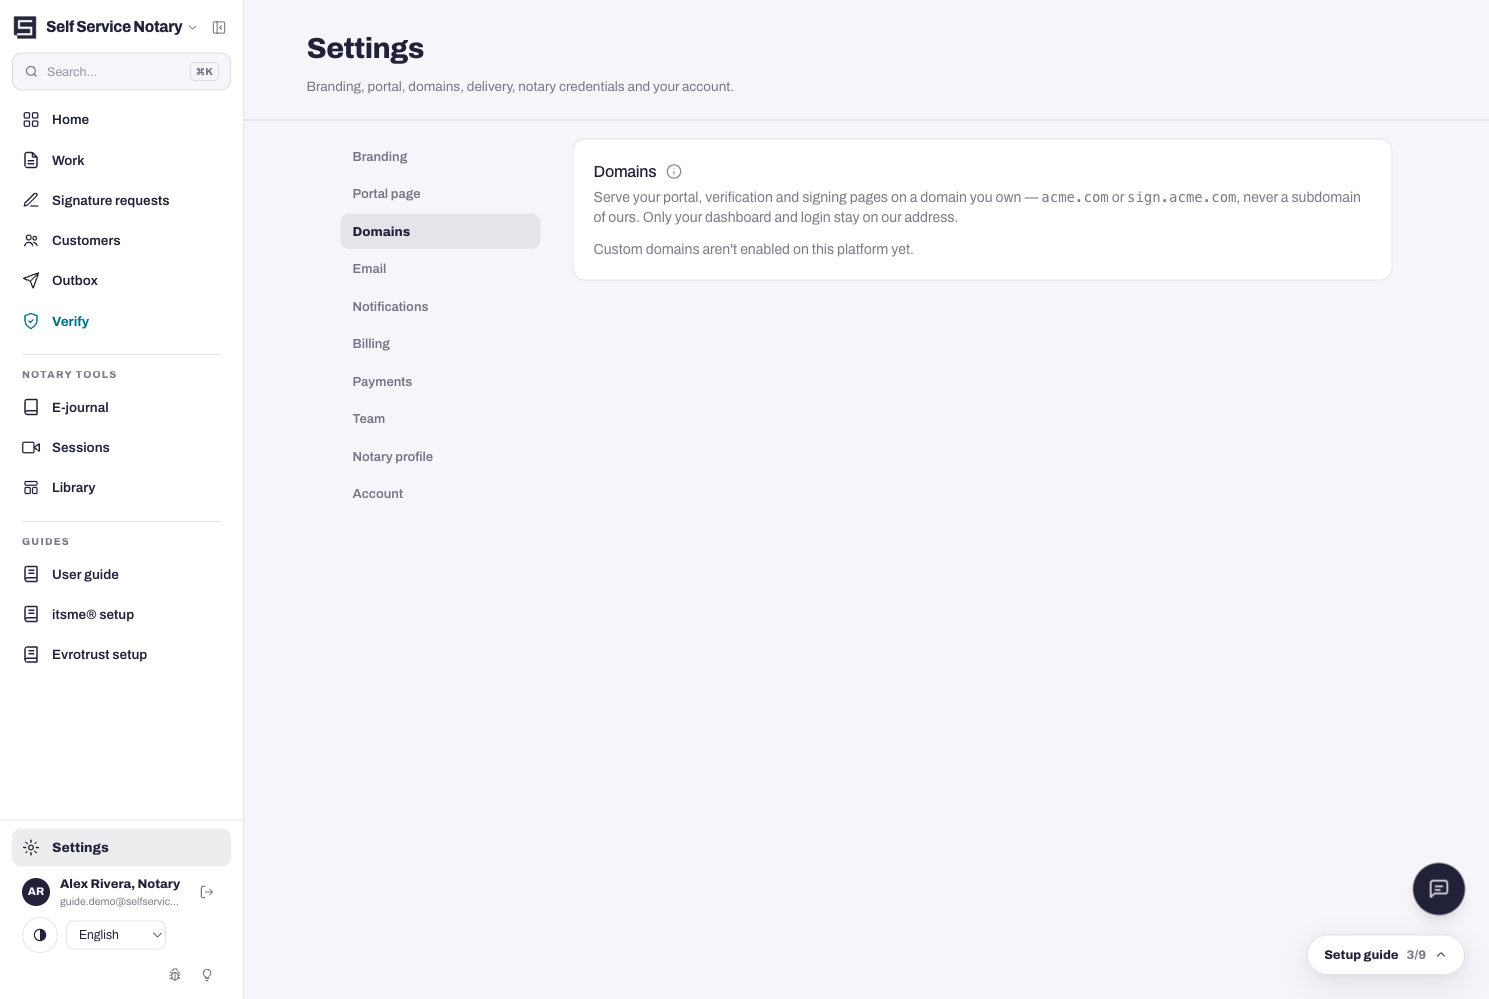
Serve everything on your own domain
3 minOne CNAME record at your registrar puts your portal, verification and signing pages — and the QR codes on sealed documents — on a domain you own.
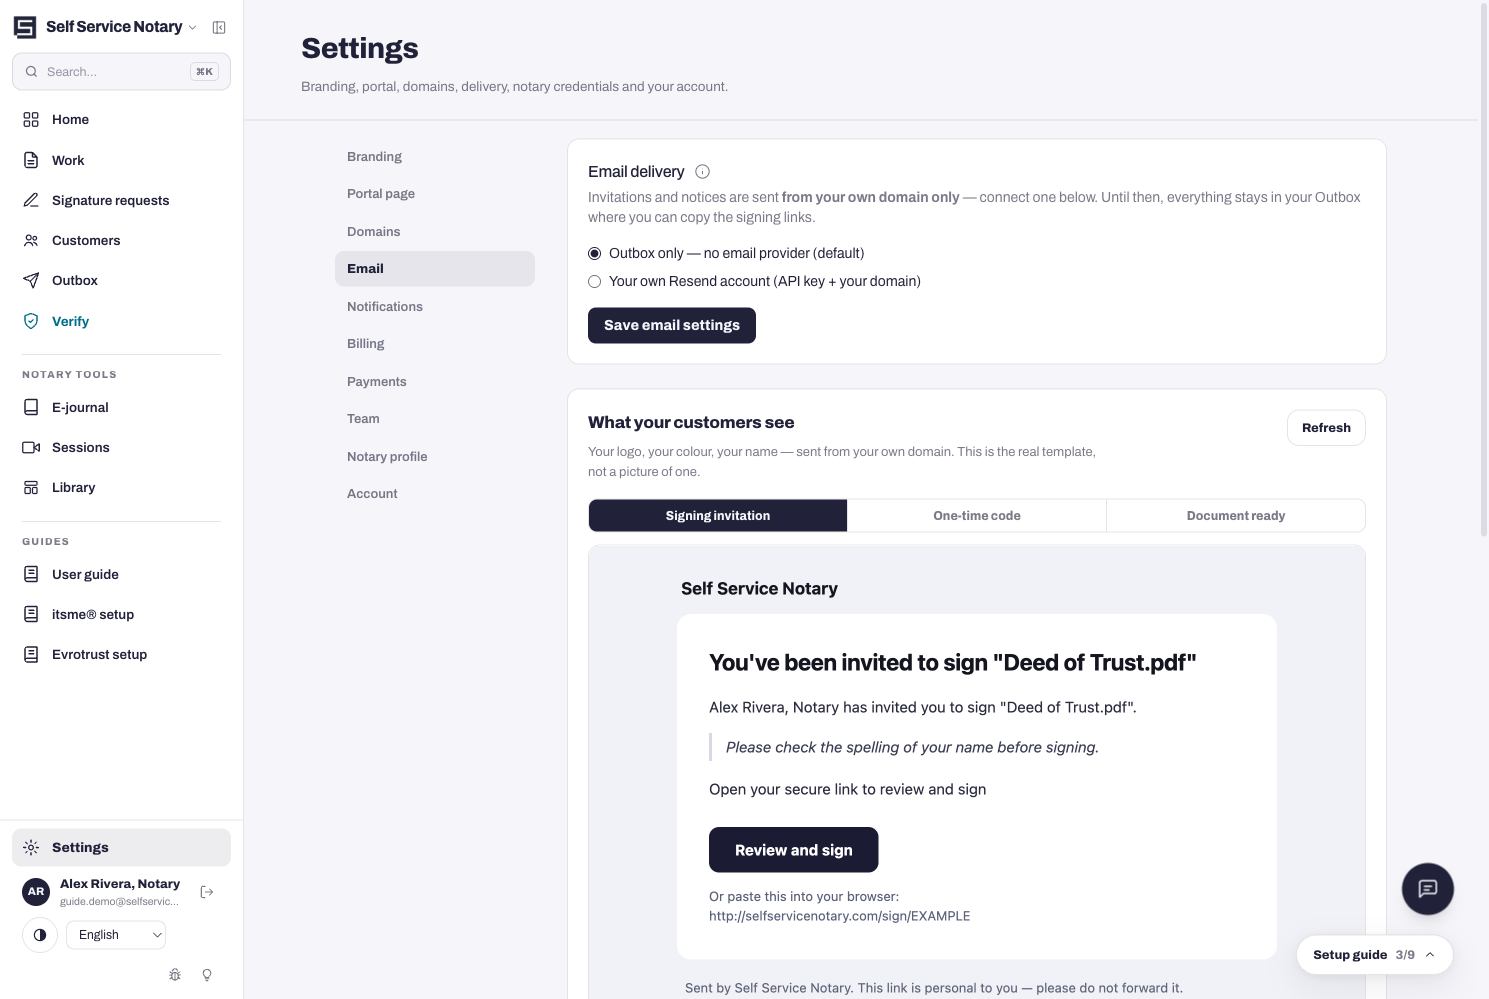
Connect your email sender
4 minNothing is sent from a shared address: connect your own Resend account and domain, and use the Outbox until you do.
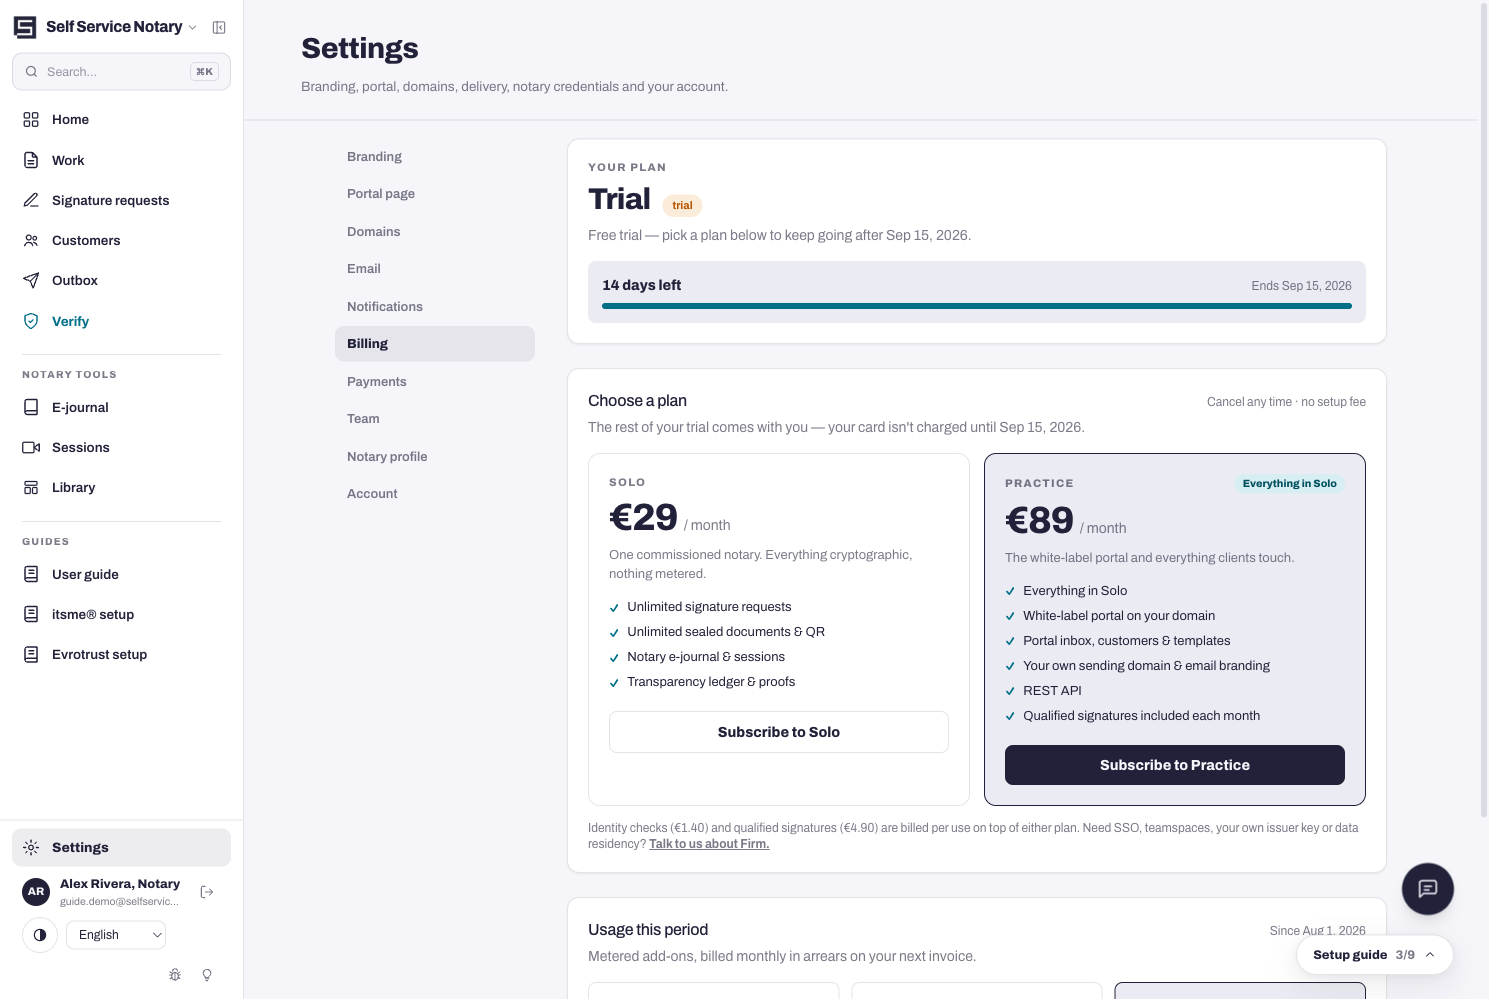
Plans, billing, and getting paid
4 minWhat you pay us (your plan and per-use costs) and how you charge your own clients through Stripe under your own name.
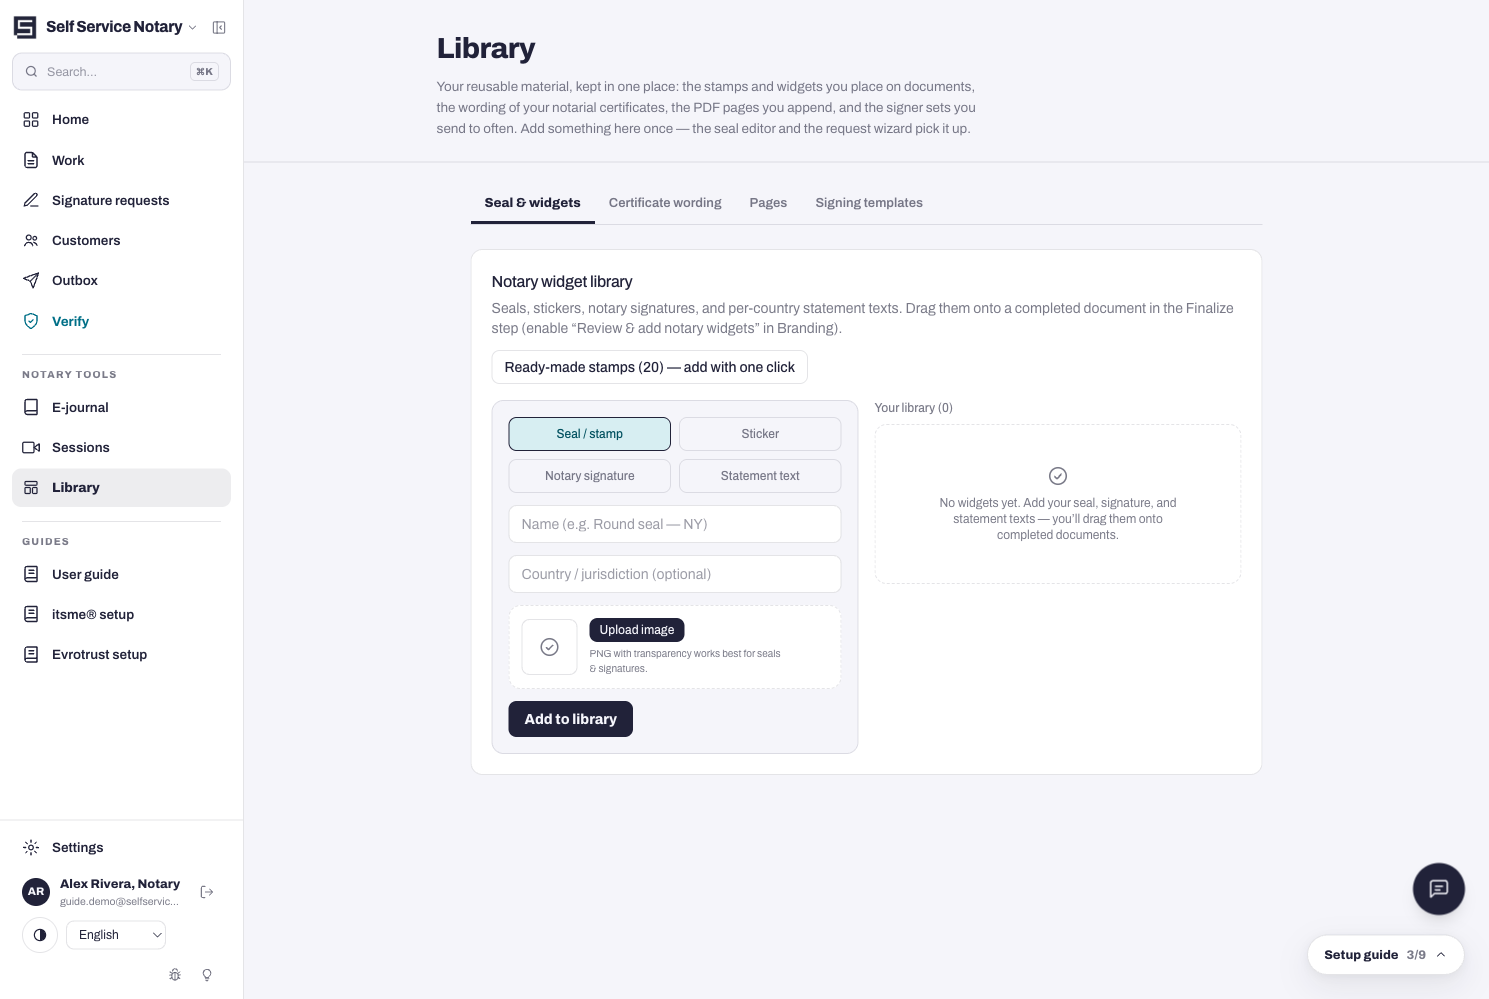
The Library: seals, wording, pages, signer sets
3 minEverything you reuse, kept once: stamps and seals, certificate wording, appendix pages, and the signer combinations you send to often.
Trust & safety
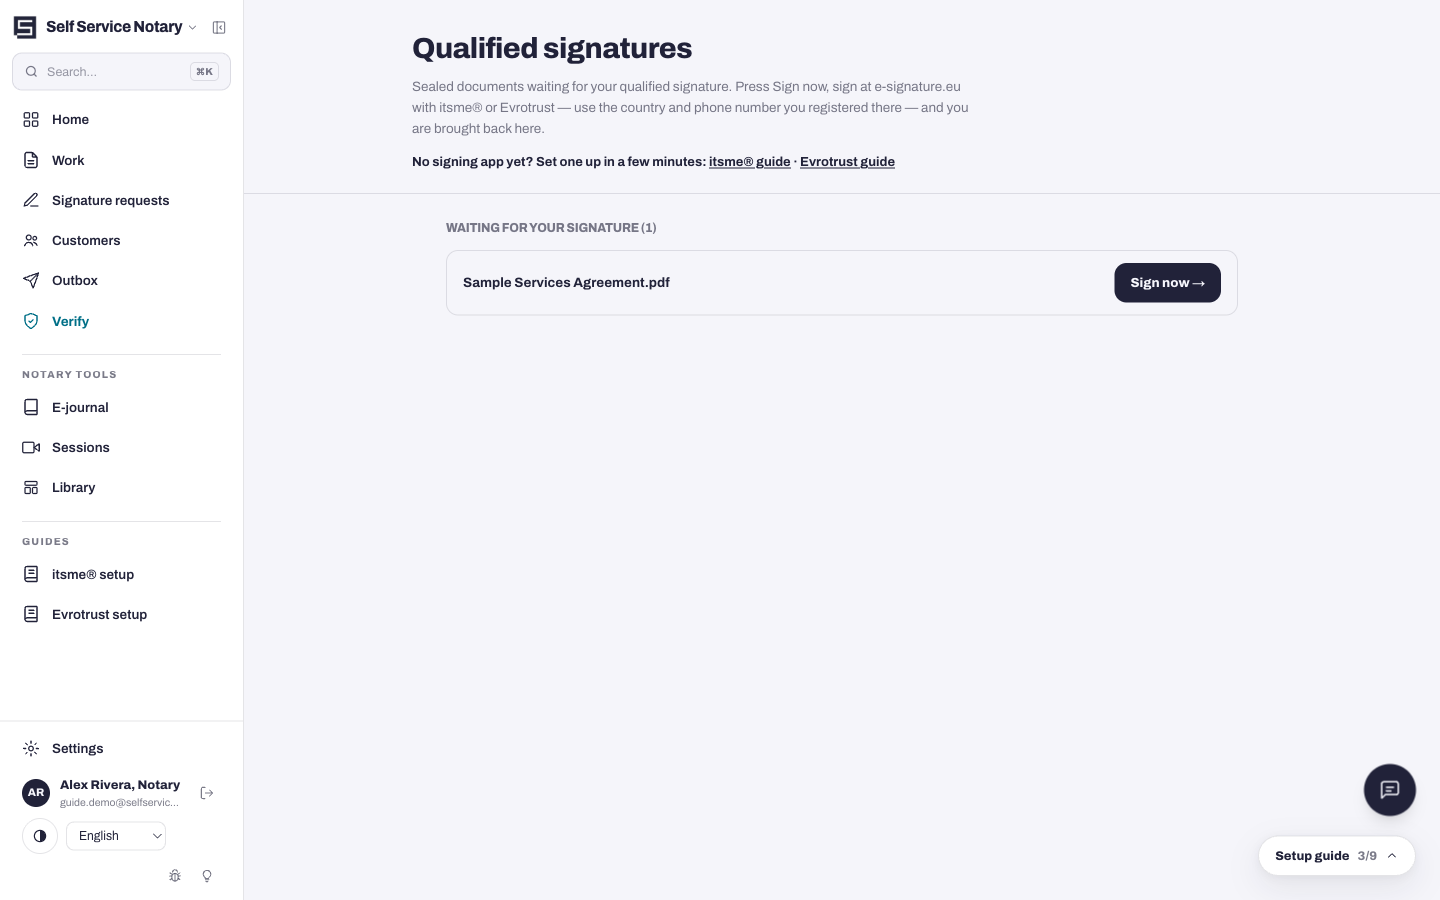
Add your qualified signature (QES)
4 minThe signing notary's one-screen job: the Qualified signatures queue, the Sign now button, and the itsme® / Evrotrust app that authorises each signature.
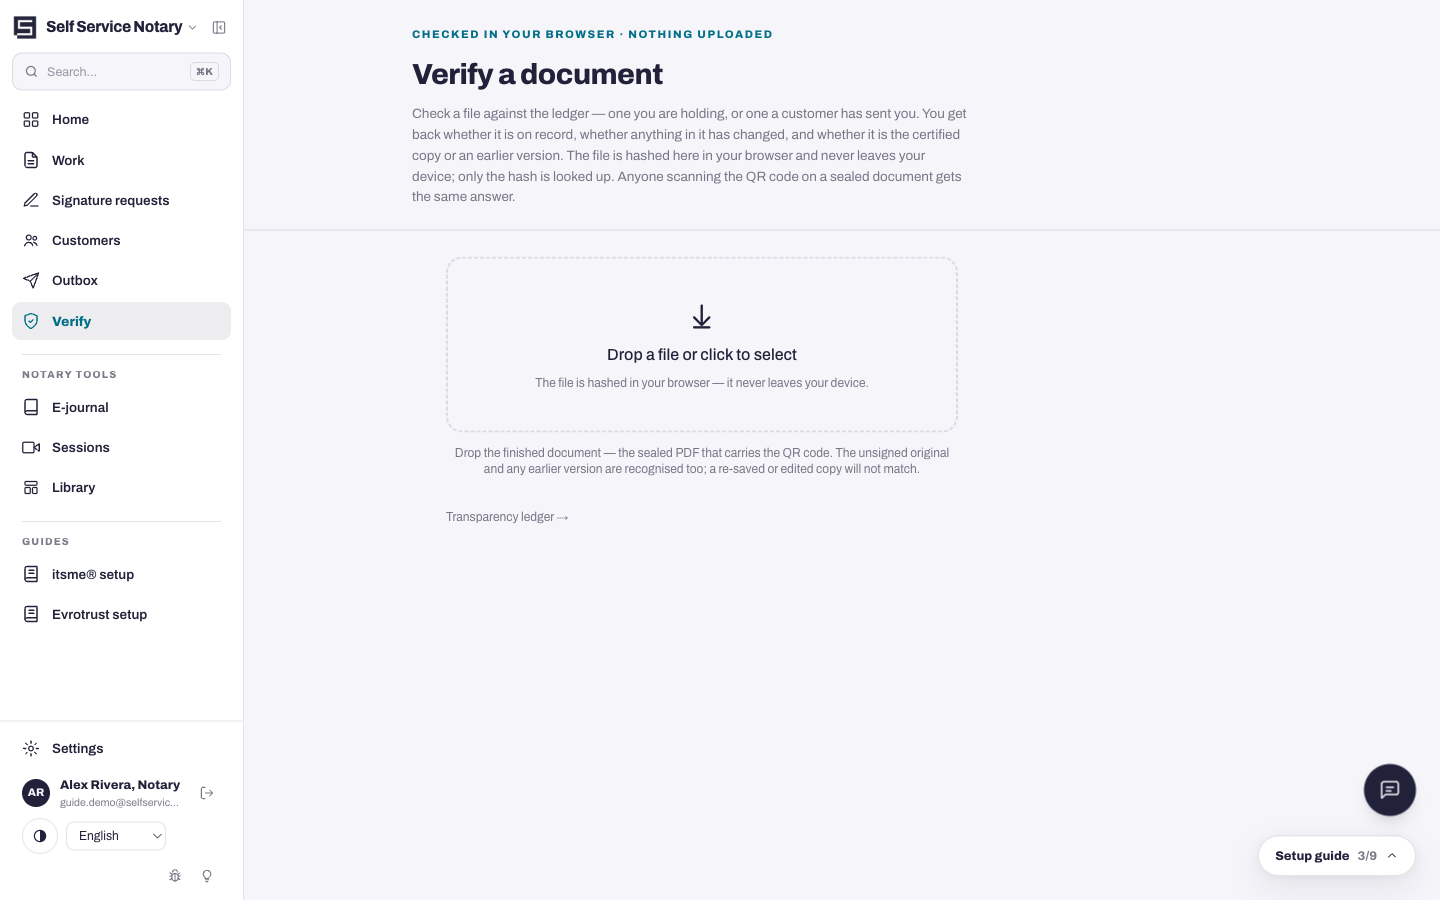
Prove a document is genuine
3 minThe verify tool, the QR badge on sealed documents, and the public verification page anyone can check — no account needed.
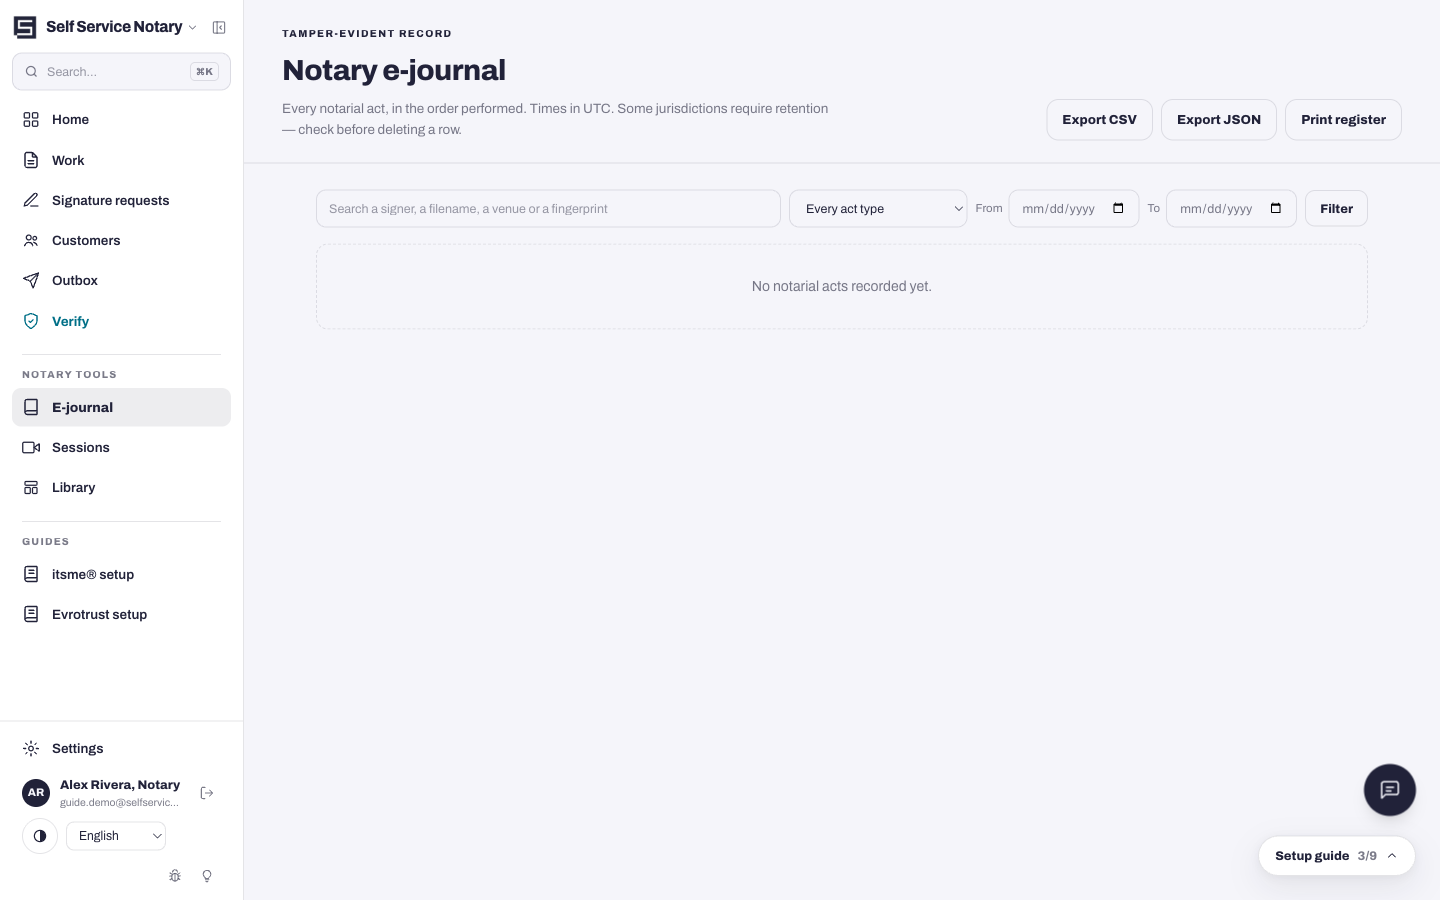
The e-journal and live sessions
3 minThe chronological record of every act you perform, and the video rooms where remote acts happen.
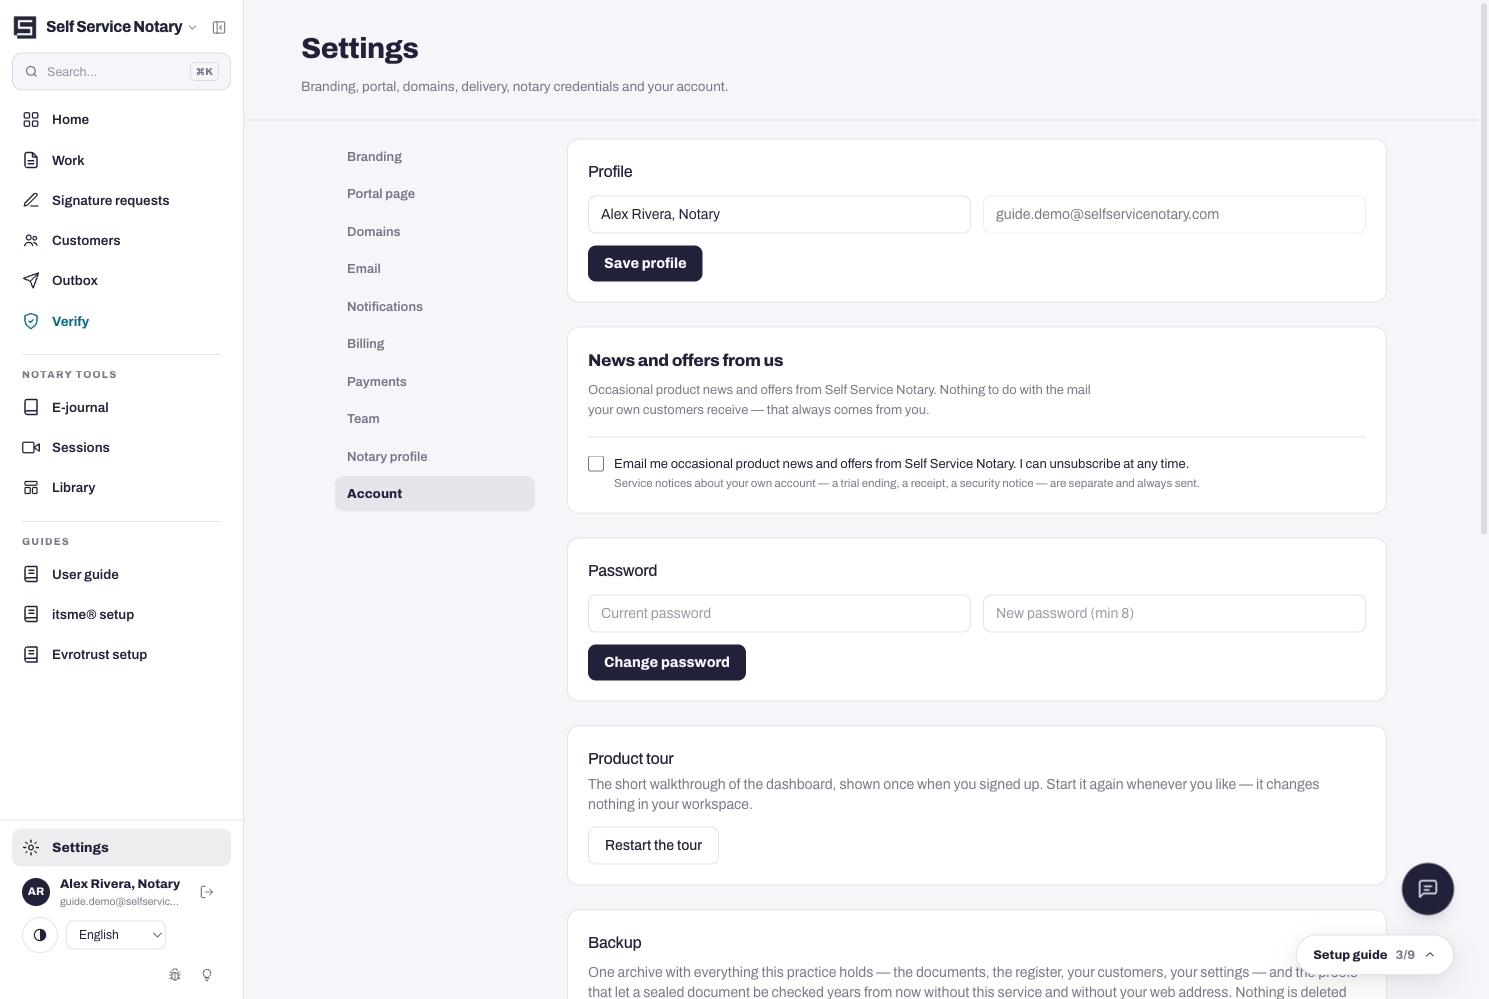
Back up your practice
2 minOne archive with everything — documents, the register, customers, settings — and the proofs that outlive the service itself.
Setting up a qualified-signature app?
The signing notary needs itsme® or Evrotrust on their phone before their first qualified signature. Both setup guides live inside the app itself: