What moves — and what stays
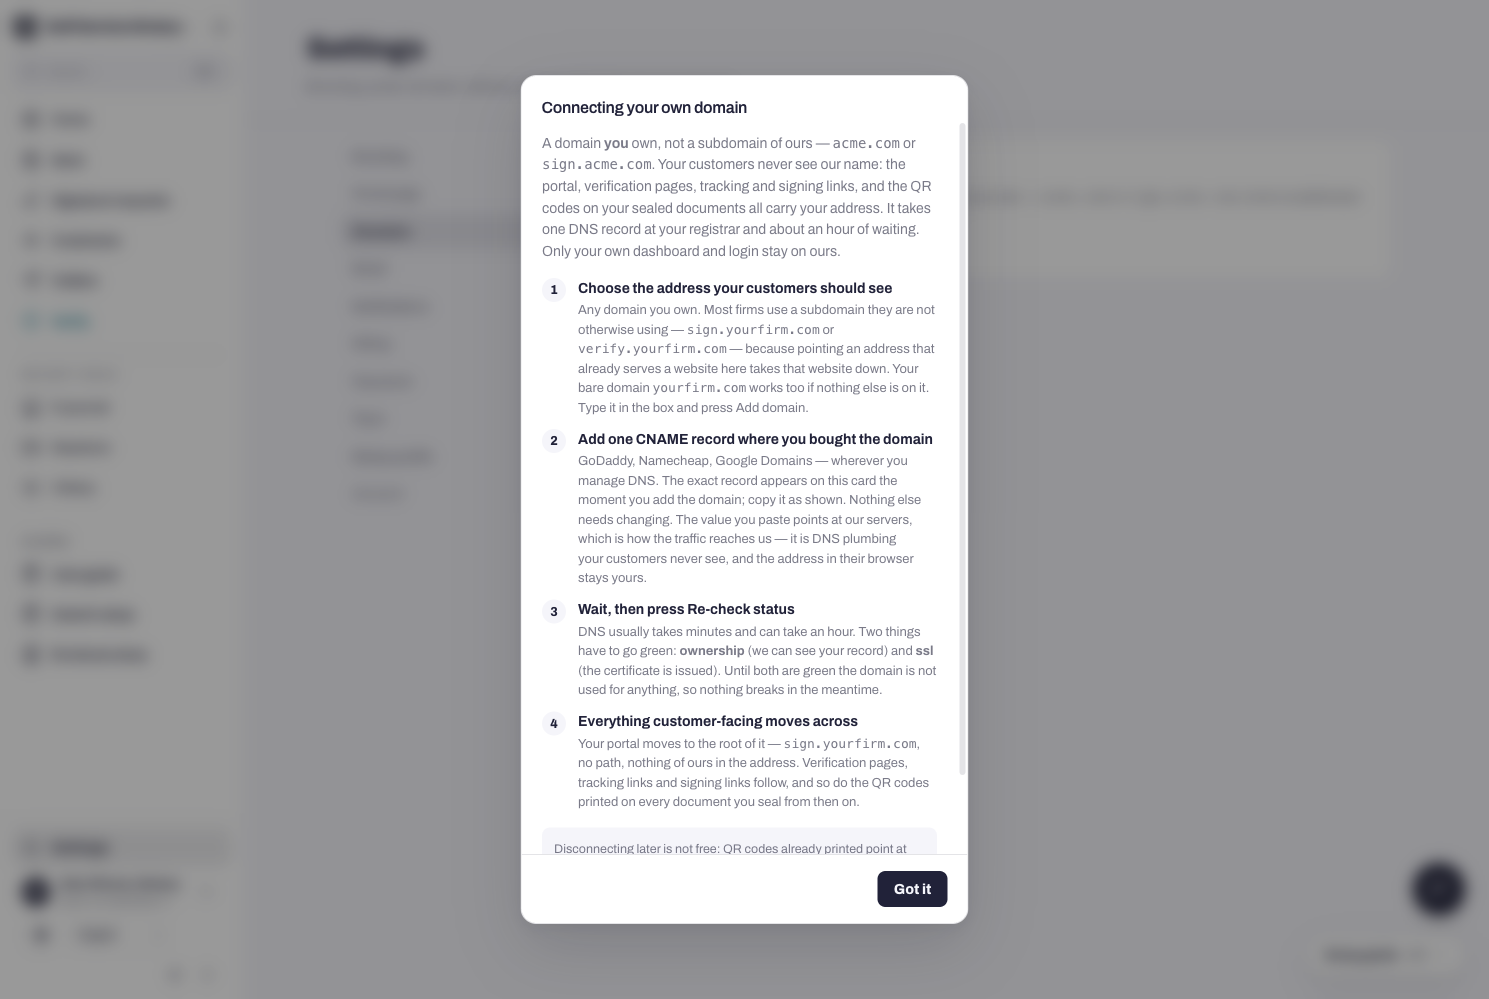
Settings → Domains. A domain you own, not a subdomain of ours — acme.com or sign.acme.com. Your customers never see our name: the portal, verification pages, tracking and signing links, and the QR codes on your sealed documents all carry your address. Only your own dashboard and login stay on ours.
Availability depends on the platform
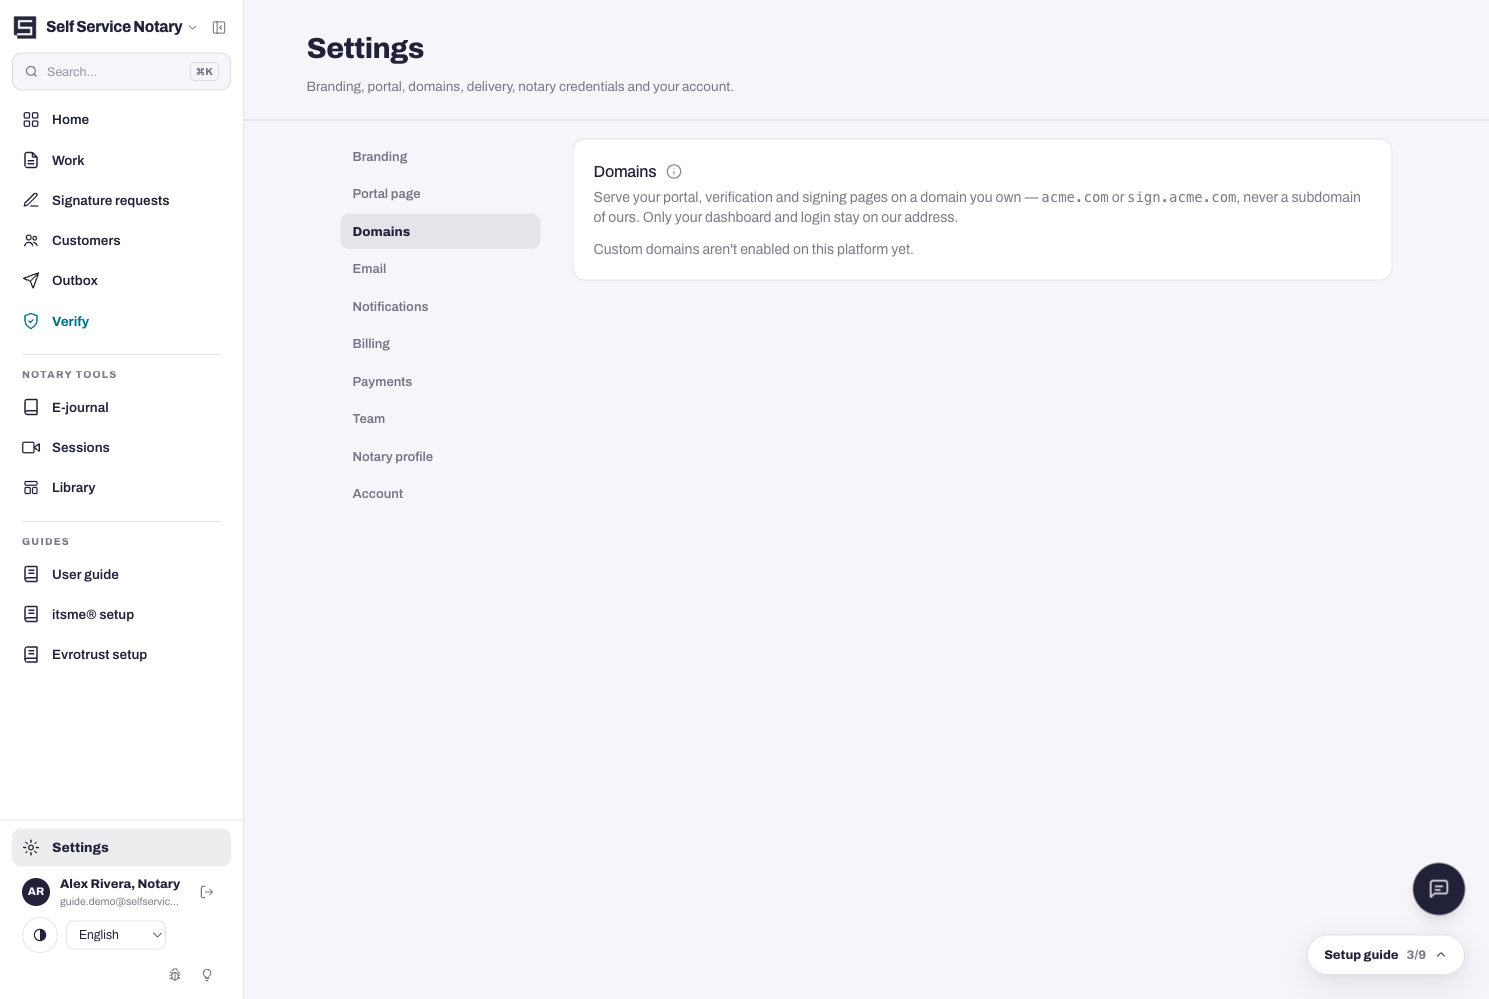
If the tab says custom domains aren't enabled on this platform yet, that switch is the operator's, not yours — everything else in this guide applies the moment it is on.
The four steps
It takes one DNS record at your registrar and about an hour of waiting:
- Add the domain on the card — the exact record to create appears the moment you do.
- Add one CNAME record where you bought the domain — GoDaddy, Namecheap, wherever you manage DNS. Copy the record as shown; nothing else needs changing. The value points at our servers so the traffic reaches us, but the address in your customer's browser stays yours.
- Wait, then press Re-check status. DNS usually takes minutes, at most an hour. Two things must go green: ownership (we can see your record) and ssl (the certificate is issued).
- Until both are green the domain is not used for anything — nothing breaks in the meantime.