
The roles
A workspace can hold the whole practice. What someone sees is decided by their seat:
- Owner — the notary whose commission the practice runs on. Everything, including sealing and billing.
- Admin — runs the practice with you: documents, customers, sessions, settings.
- Member — the working clerk: documents, sessions, customer contact. No settings, no money.
- Signing notary (QES) — the seat that only adds qualified signatures. One screen: the queue. Literally nothing else.
Settings worth knowing
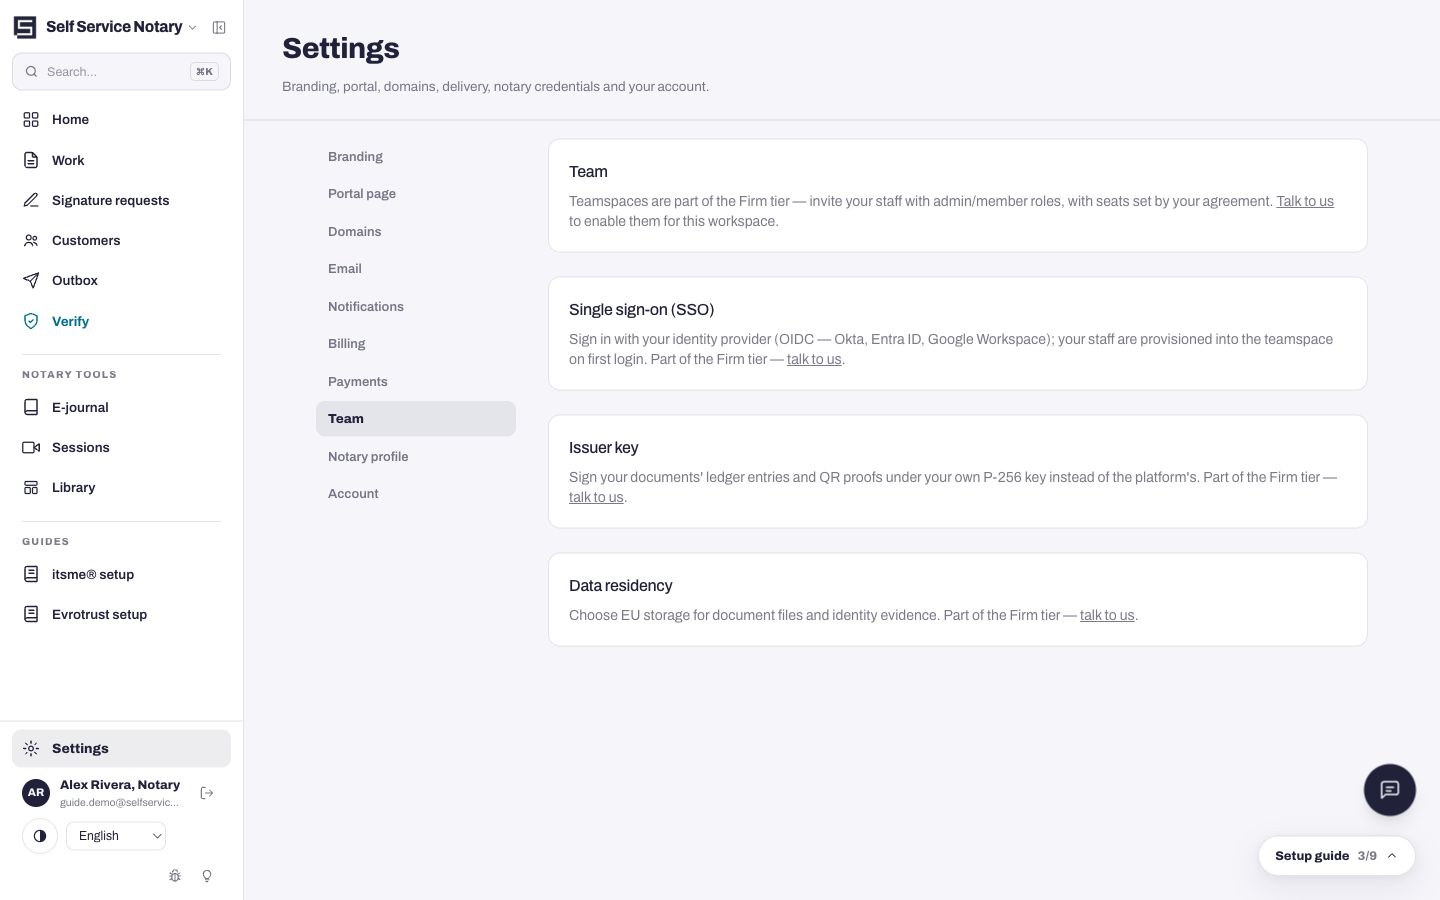
Everything lives under Settings in the sidebar:
- Notary profile — your name, commission and state as they go on every certificate; your seal and signature images.
- Team — invite people and change seats.
- Email — connect a sender; until then, outbound requests wait in the Outbox.
- Billing — your plan, its limits, and payment.
The signing notary needs their app first
Before a QES seat can sign, they need itsme® or Evrotrust set up — both guides are one click from their queue, and from the Guides group in the sidebar.