
Send the request
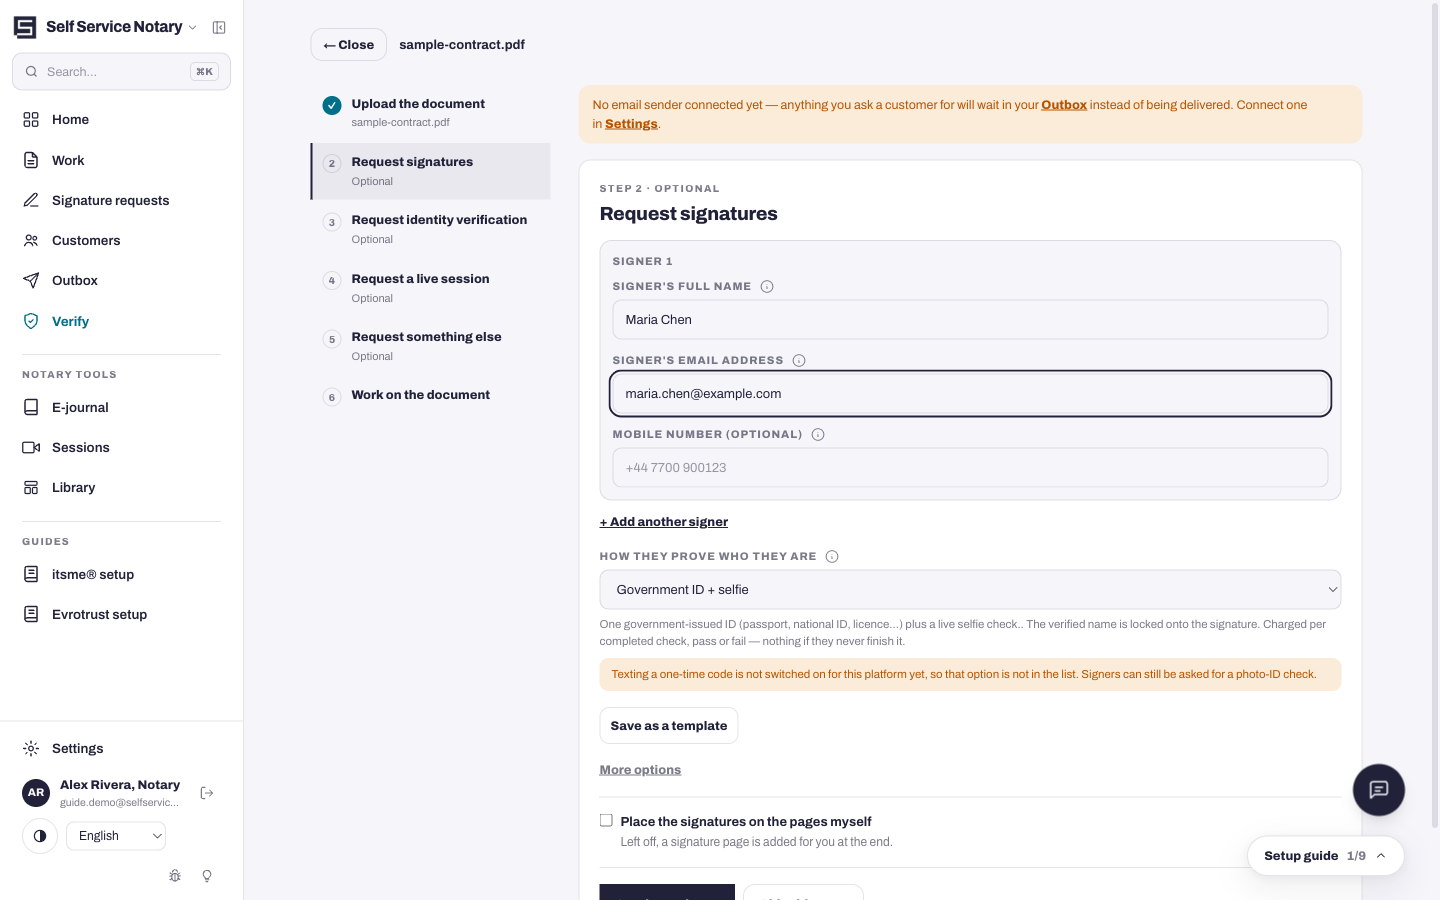
Signature requests are created in the wizard's step 2 (see Notarize a document). Each signer receives their own link — never a shared one — and signs in their browser.
- In the wizard, press Add a signer and fill in their name and email.
- Pick the identity level: Email link only (they just sign), Government ID + selfie (default — a real identity check), or Two different IDs + selfie for the strictest jobs.
- Send. The wizard rail immediately shows progress, like “0 of 1 signed”.
What the signer sees
Your signer opens their link and sees the document with a signature box. When identity verification is on, they are asked to photograph a government ID and take a selfie before they can sign; the verified name is then locked onto their signature — a signature that cannot be claimed by anyone else.
Watch progress
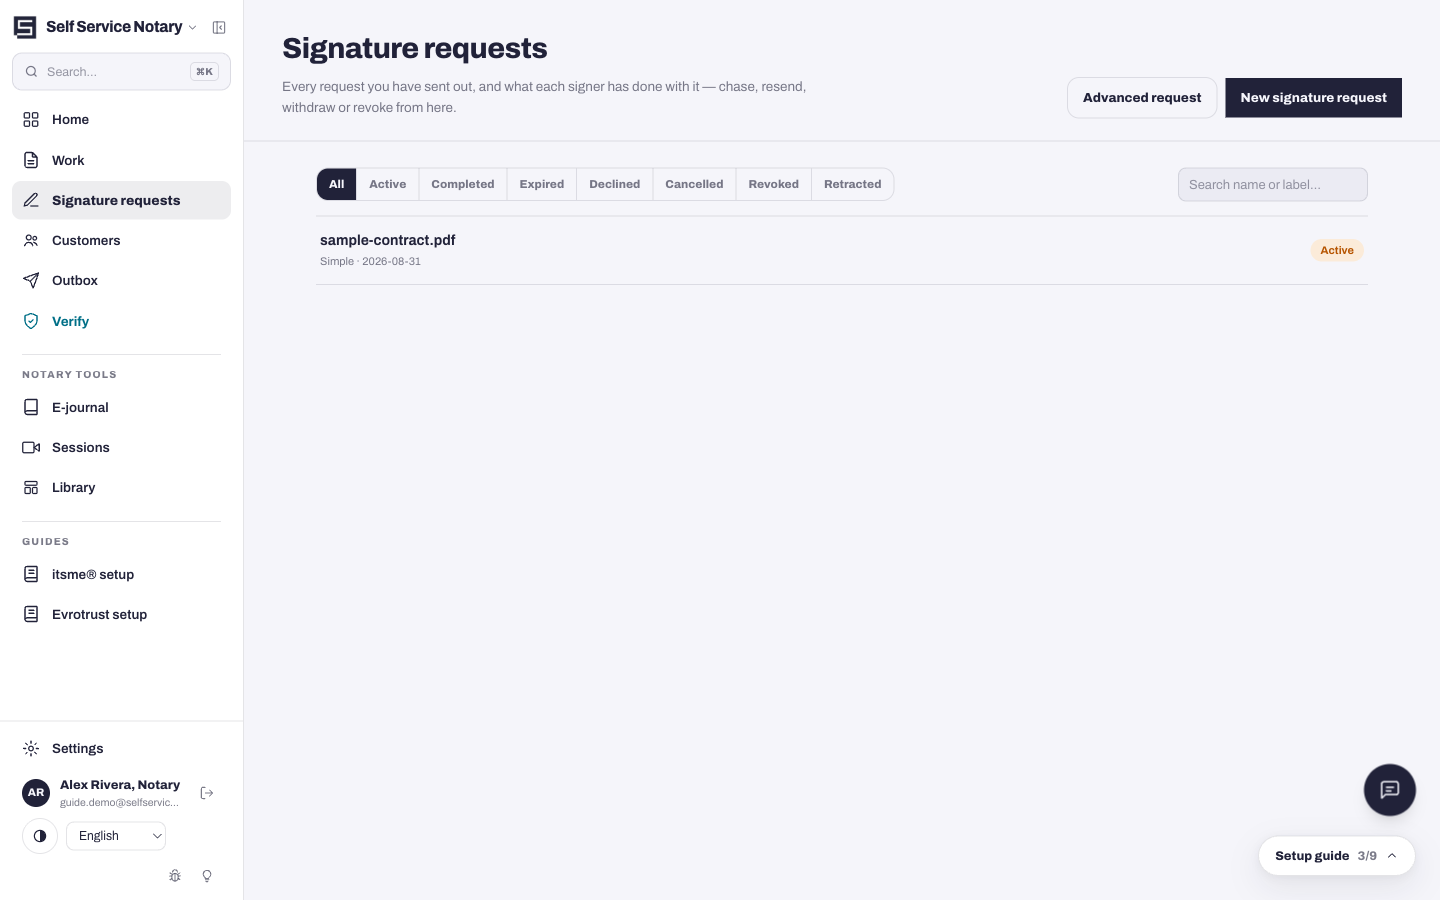
The Signature requests page lists every job with its live status: who has signed, whose identity check is pending, whose link has gone stale. The same counts appear on the wizard's rail and on each Work row.
- Open Signature requests in the sidebar.
- Each row shows the document, the signers, and how many have signed.
- Open a row to see the individual signer's status and to act on it.
You seal the act yourself
Collecting signatures does not finish the job — when everyone has signed, you return to the document and seal it. The seal is the notary's step, not the signer's.